
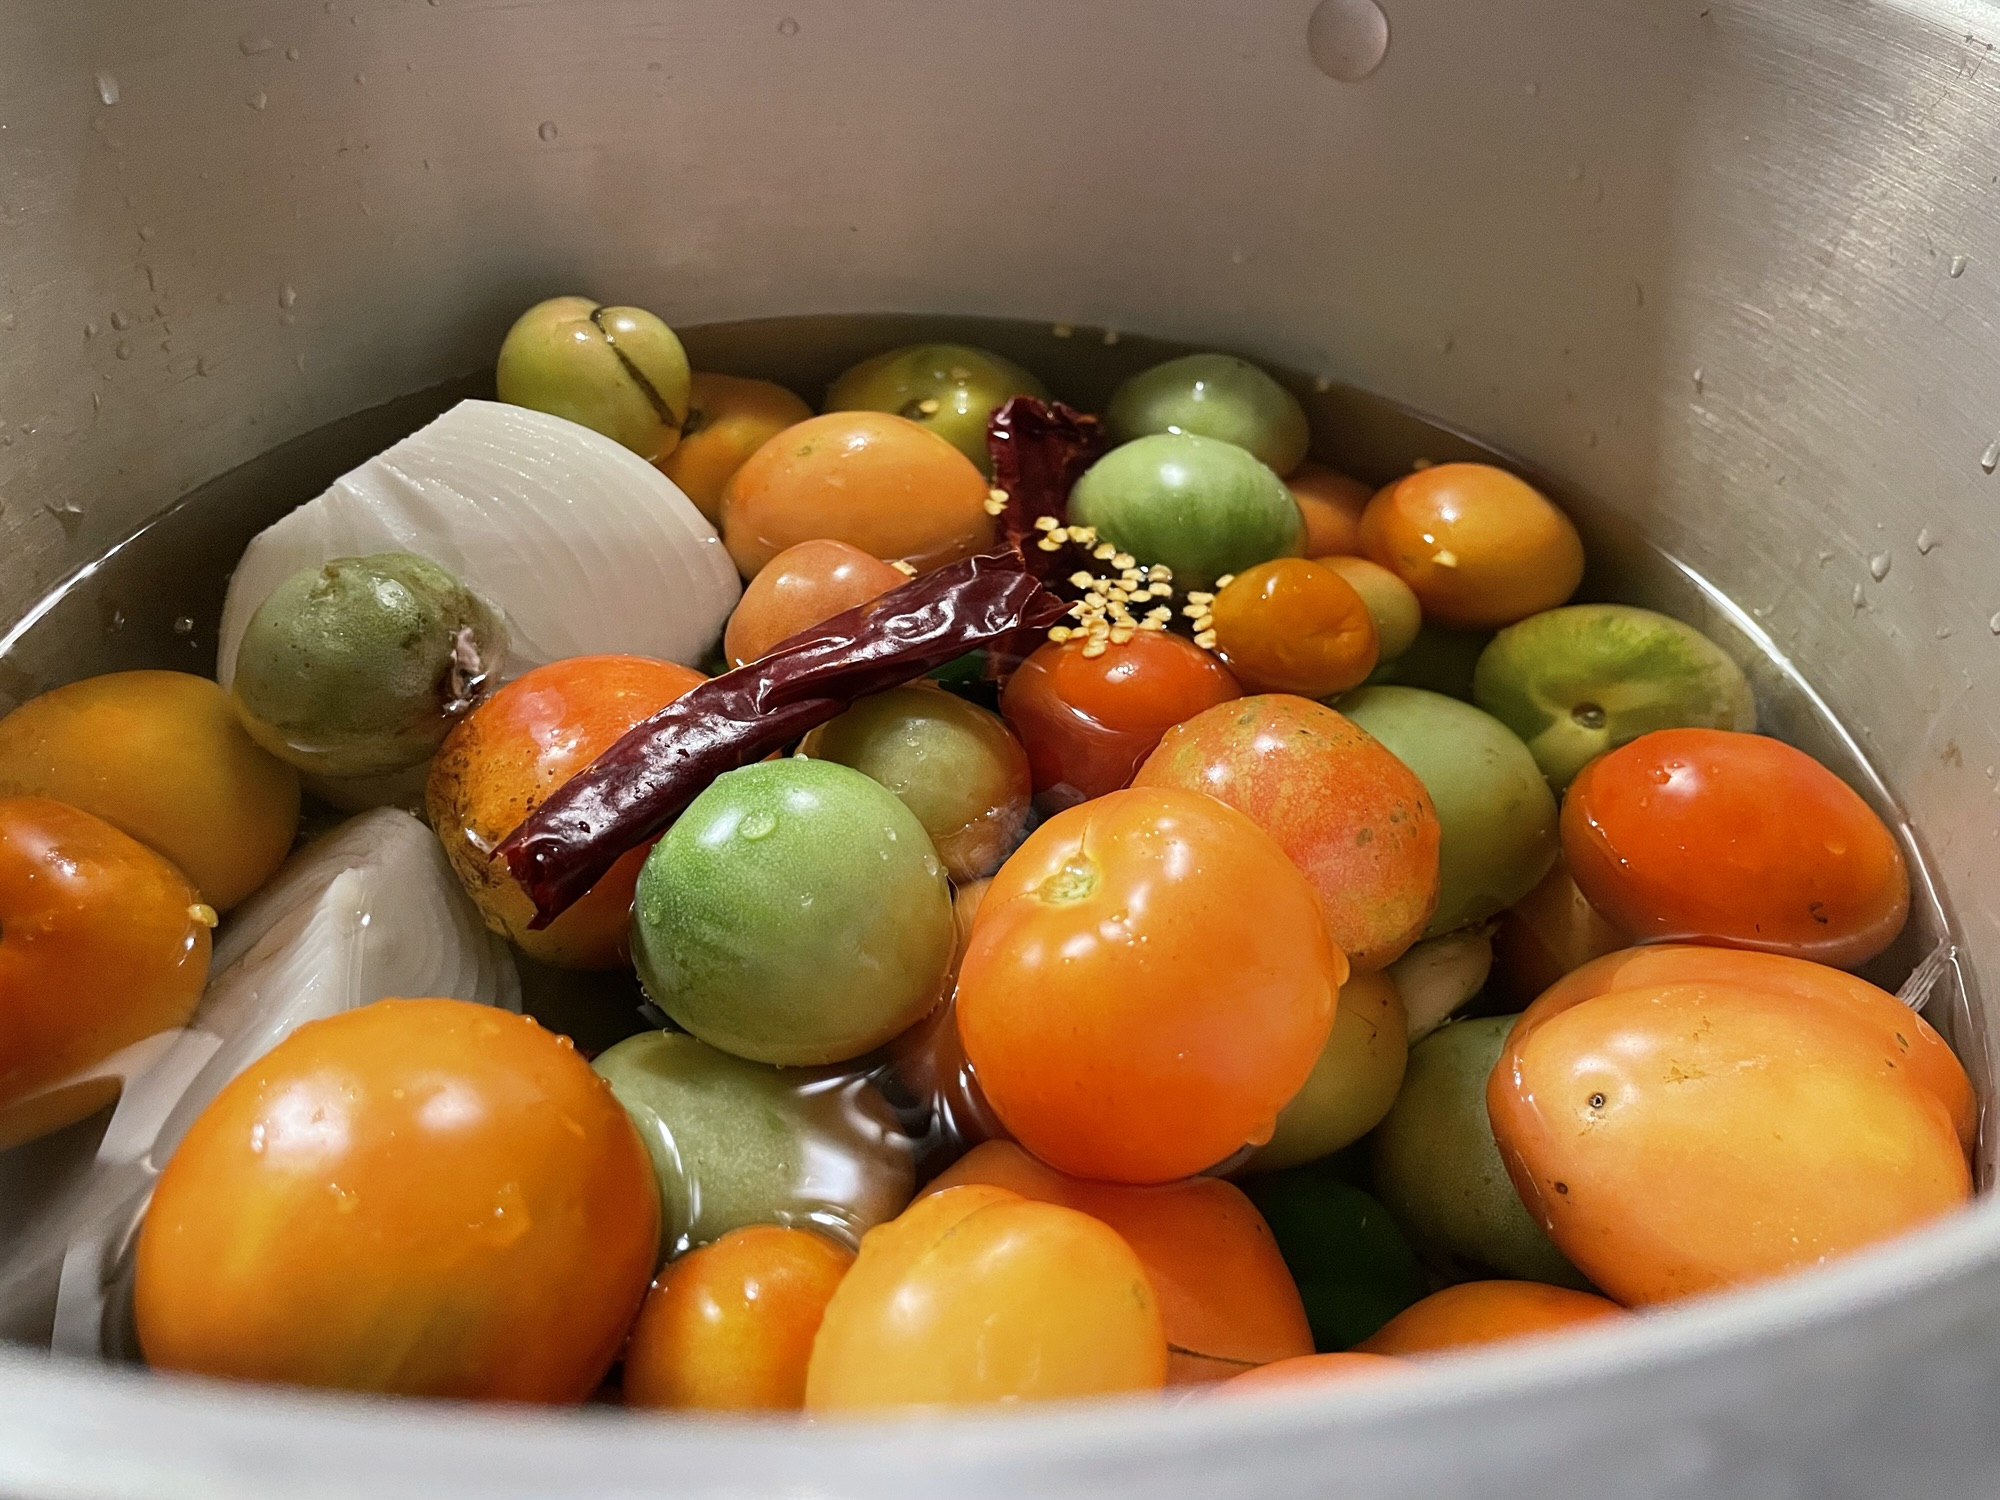
Hey folks! Welcome back to Daniel Eats Food episode 85!
It has been a while since my last blog, and a lot has happened! And, the most important part: MY TOMATOES!
This spring I spent my last $100 on a garden: potting soil, and vegetable seeds. I literally did not have a single expectation, and was determined not to let that $100 to go to waste. Well, I am happy to announce, NOTHING went to waste!
I grew corn, squash, and tomatoes, successfully; and learned a lot about gardening, and growing crops! There are several things I would do differently; and am happy to know my minimal effort or experience was relatively successful.
The first thing you want to ask yourself: “Do I want to can my salsa?”
The second thing you want to ask is: “How do I like my salsa? Chunky? Runny? Red? Green? Garlic? Corn? Super spicy?”
And the third thing is: “Do I plan on sharing my salsa?”
If you plan on canning your salsa, you will want to make sure you use PRE-APPROVED recipes. The acidity level of your salsa has a monumental impact on it’s viability for canning. If the acidity of your salsa is too low botulinum is very possible; no matter how much vinegar you add.
The chunkiness of your salsa is all up to you! Personally, I don’t mind chunky salsa and I don’t mind runny salsa. I have had excellent samples of both throughout my life, and it just depends on a persons texture tolerance(s).
If you plan on sharing, of course you’ll want to specialize your batch to match the pallet of your audience. Maybe a less spicy batch for the older/younger audiences, and a really spicy batch to wow your neighbors!
The major sets are:
- Answer the above questions
- Gather your ingredients
- Blanche your peppers and tomatoes
- Blend ingredients to desired thickness
- Simmer it similarly to a pasta sauce; getting out any additional water.
- This is when you want to add your dry ingredients/spices such as a bay leaf, a carrot etc.
- Bring to a boil (180degrees) stirring constantly. Remove all removable ingredients.
- Chill and adjust seasonings before serving.
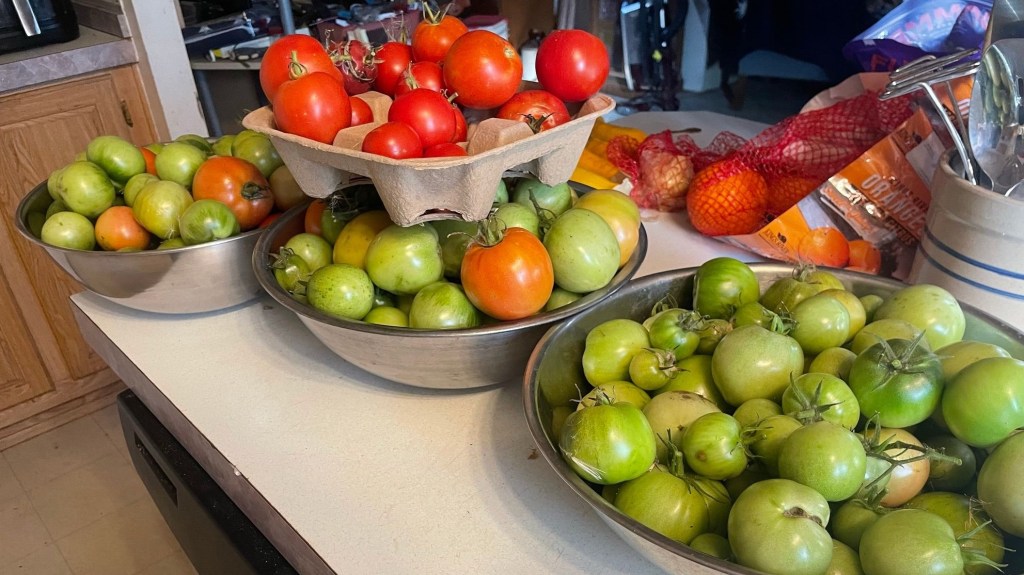
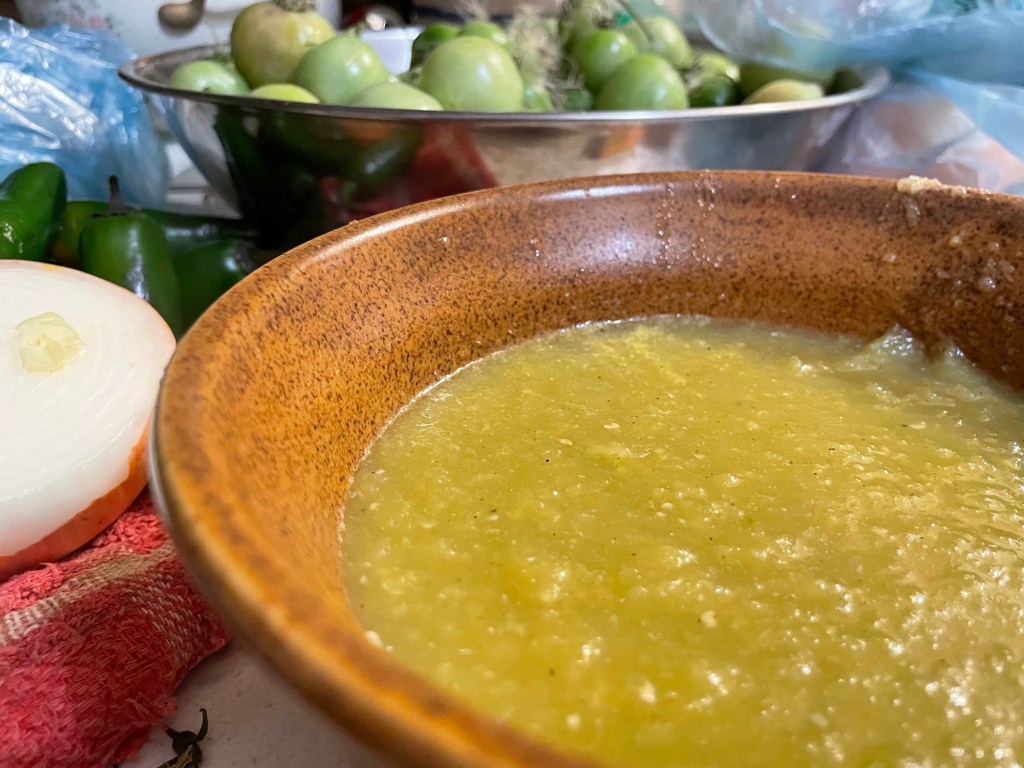
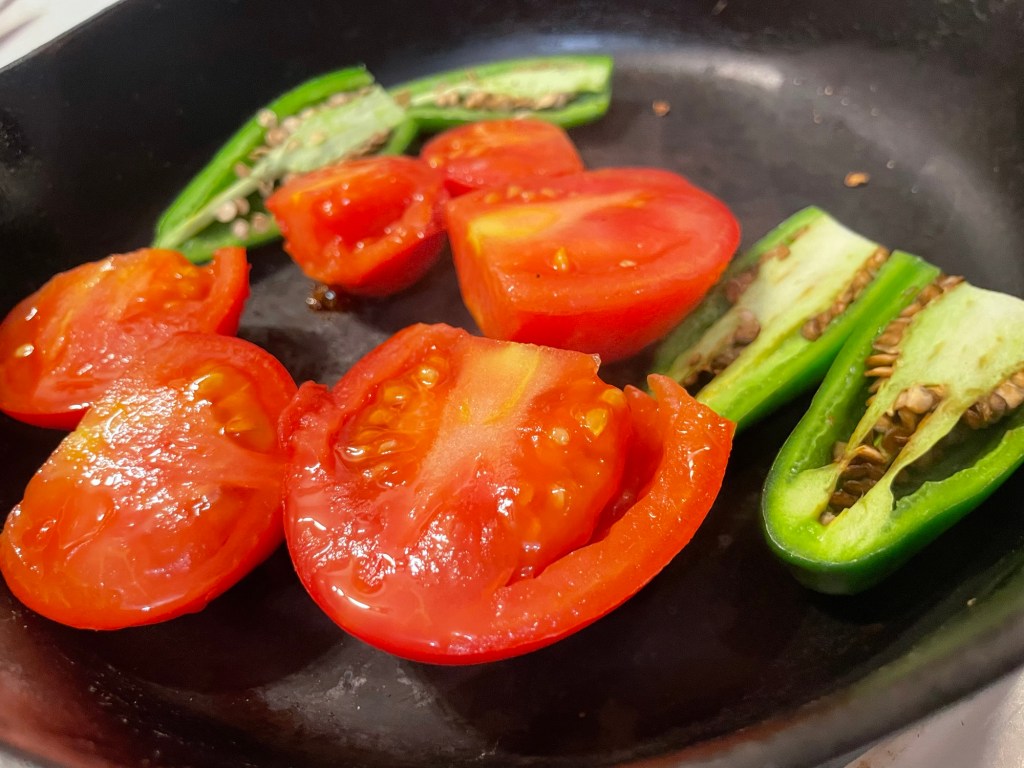
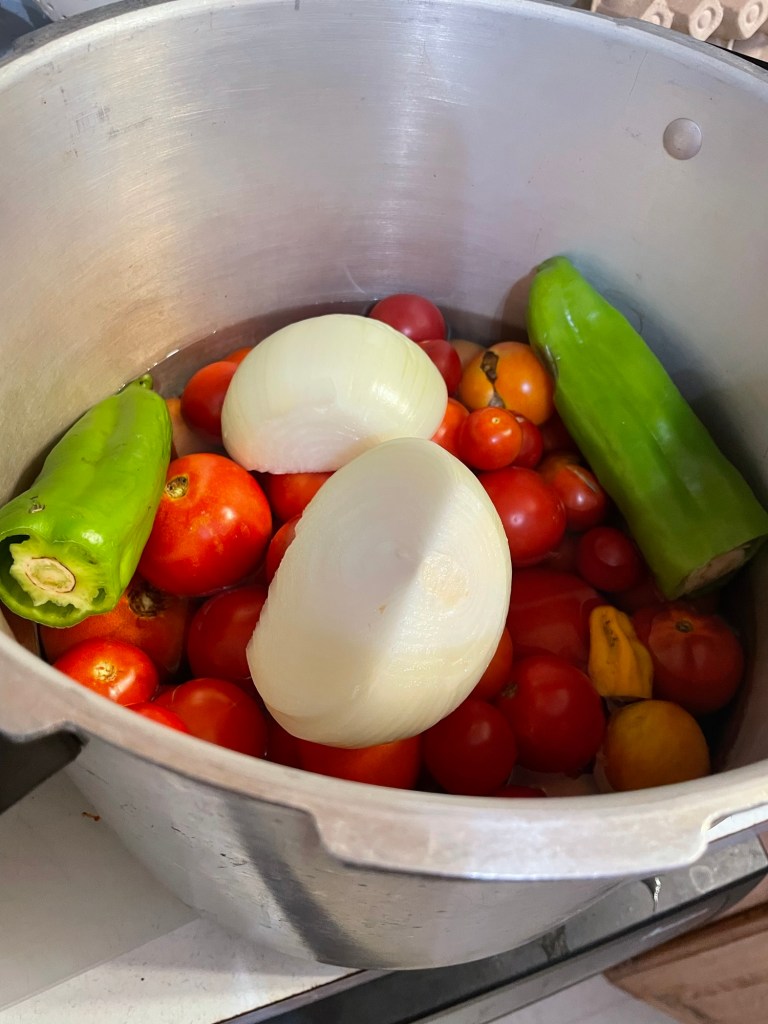
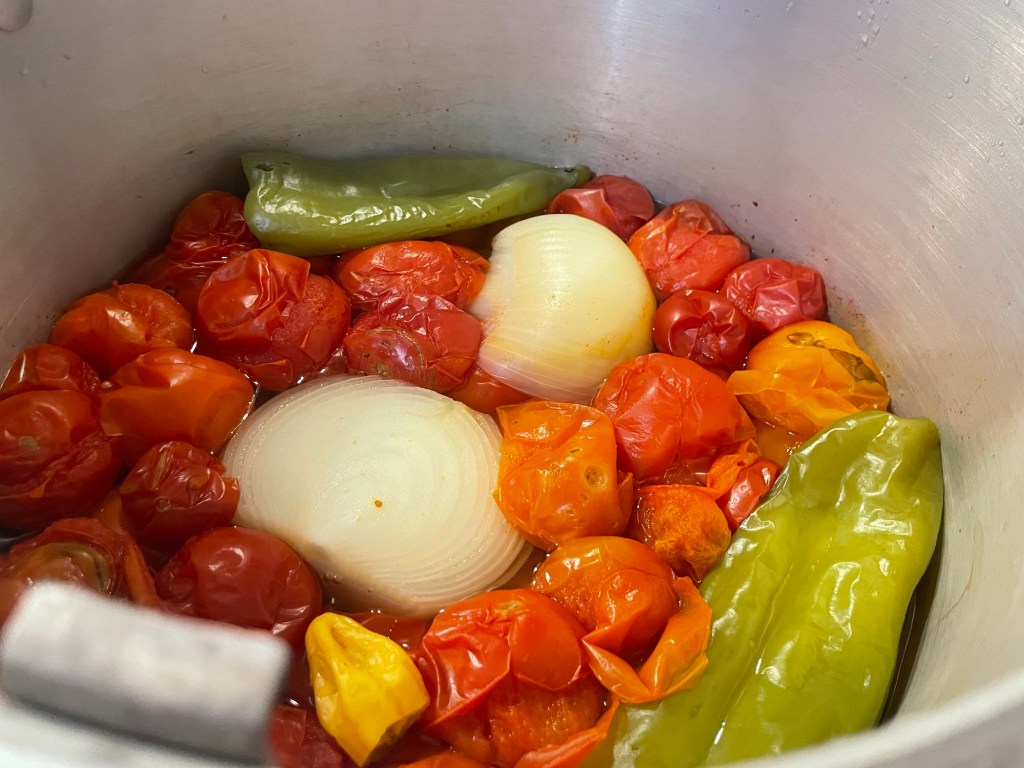
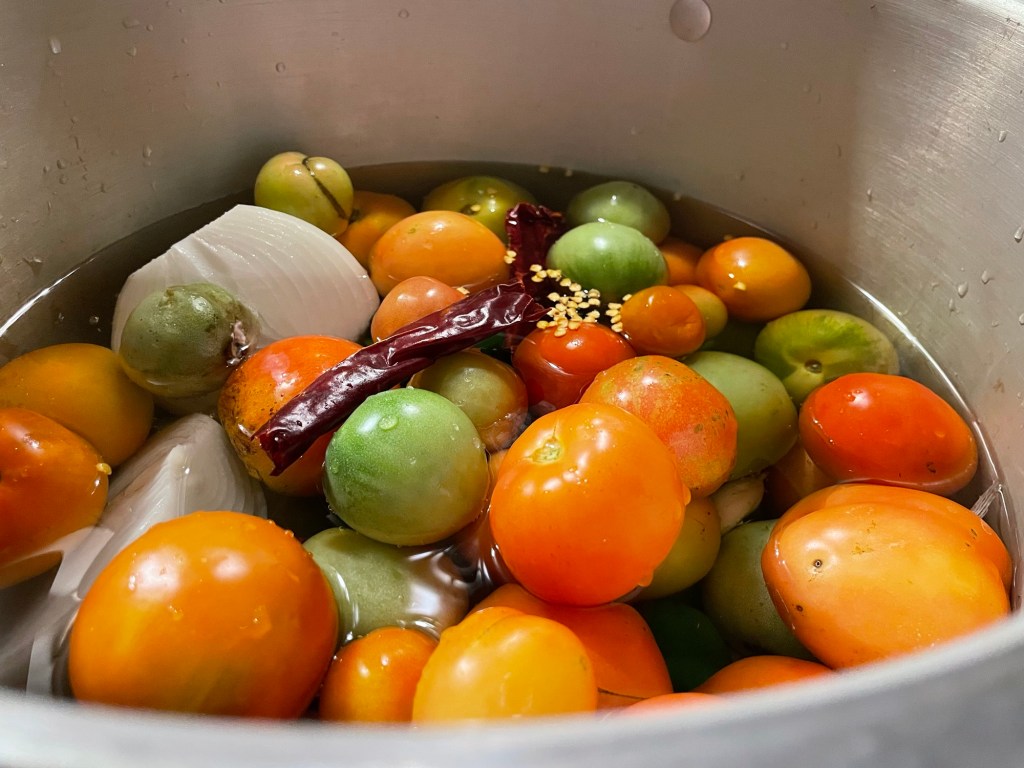
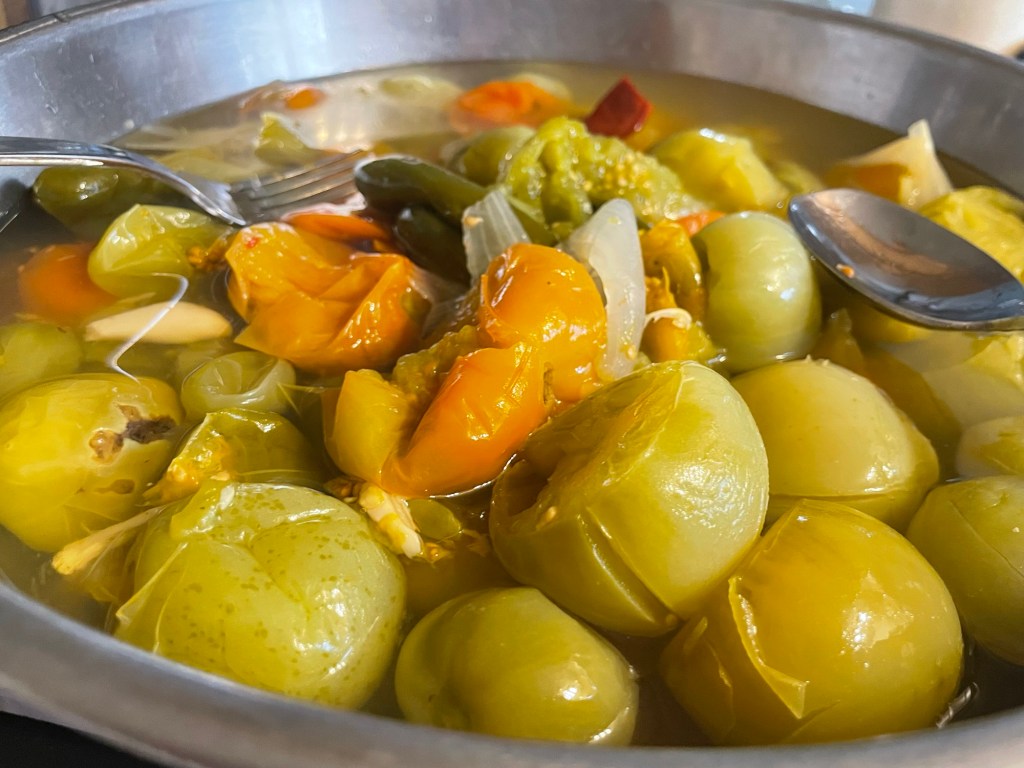
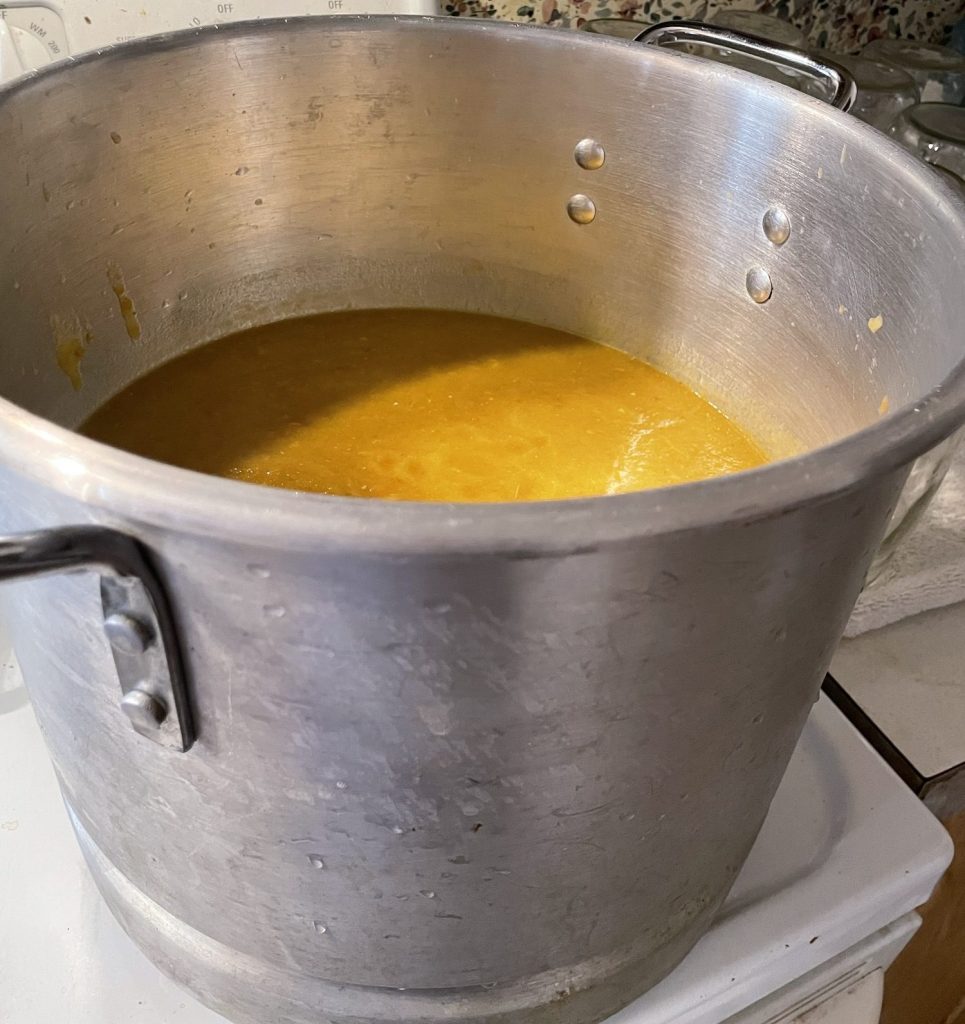
Personally, I think blanching is the most tidiest part of the job. I honestly left the skins on about 50% of my tomatoes, just blending it a little harder to compensate. Obviously I cut some corners in this recipe, and it still turned out very good.
In other news, I was admitted to Oregon State University to continue my studies! I am currently working on my BA in Psychology, entering as a Junior! Very, very, very exciting! GO BEAVERS!!!!! WHOO!!!
It is the fourth week thus far, going into week five; wish me luck!
In other, other news: MEET KALI! We found each other in all of this madness! Enjoy the photo!

Well, that is pretty much everything exciting that is going on around here. Okay…maybe a couple more food pictures…
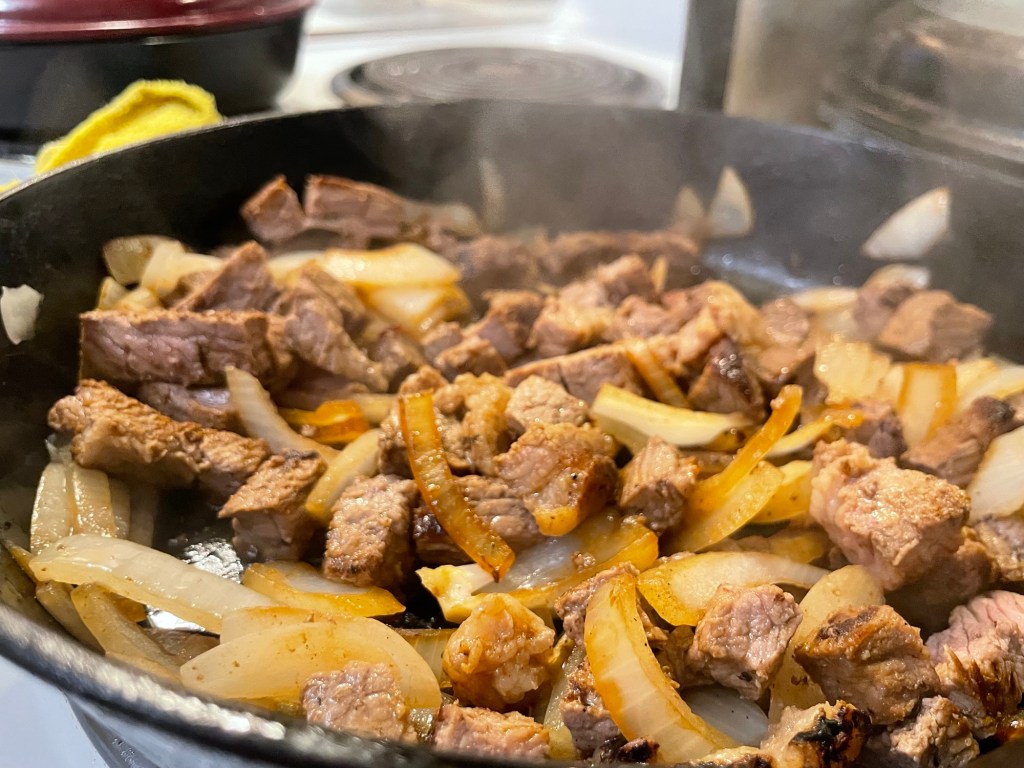
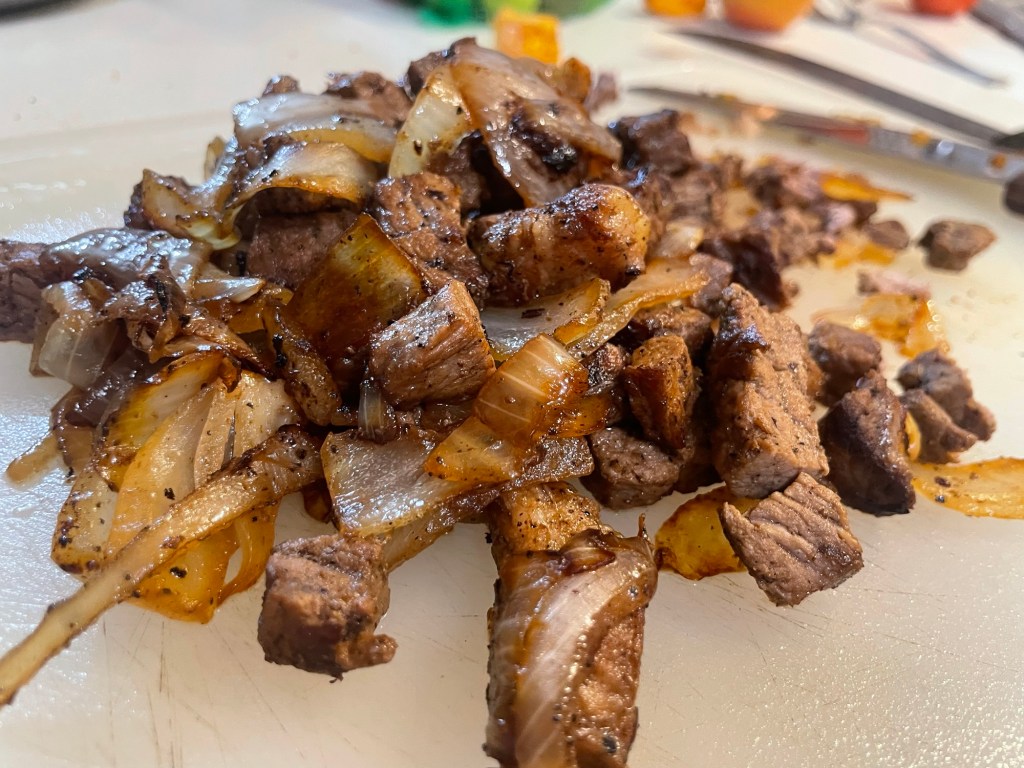
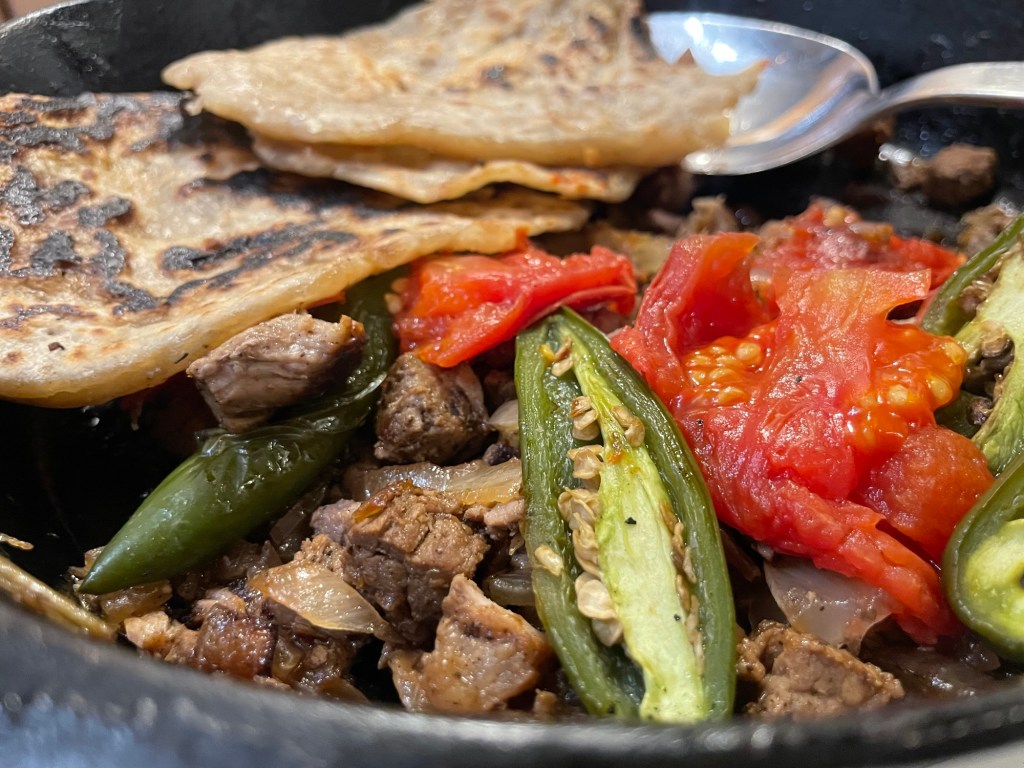
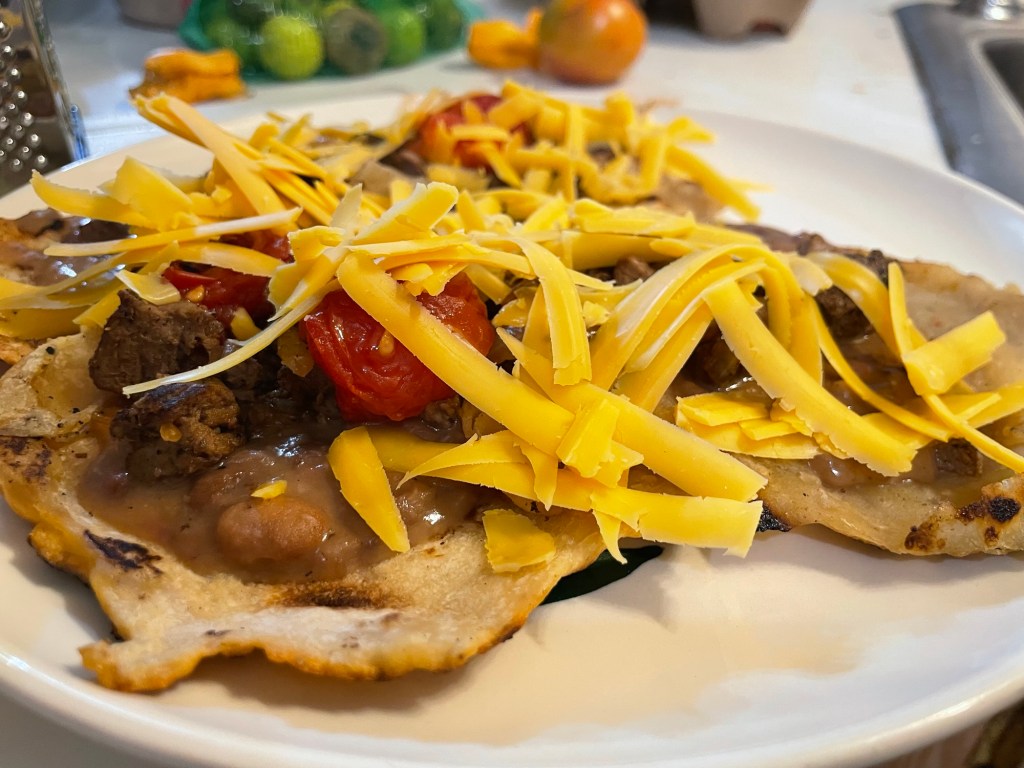
The day I picked my tomatoes I cut up the chewiest steak to make tacos. Guess what? it was still chewy…you can see my homemade tortillas in the background; coming out more like slices of bread. You can cut corners making salsa, but you CANNOT. I repeat, CANNOT cut corners making tortillas! Gadzooks!
Okay, folks. I think that is all my little fingers have to say…
ENJOY!
Daniel out!
❤
Red & Green Tomato Salsa!!!
INGREDIENTS:
- Tomatoes: 4–5 lbs total (a mix of ripe red and green tomatoes for balance)
- Onions: 1 large onion (white or yellow), chopped
- Garlic: 4–6 cloves, minced
- Jalapeños: 2–3 peppers (stemmed and seeded for medium heat)
- Serranos: 1–2 peppers (adds a sharper, brighter heat layer)
- Acid: ¼ cup of 5% acidity vinegar or fresh lime juice (crucial if canning)
- Spices & Seasonings: 1 tsp ground cumin, salt and black pepper to taste, a bay leaf
INSTRUCTIONS:
- Prep and Blanch: Score an “X” on the bottom of your tomatoes, drop them into boiling water for 30–60 seconds, then immediately transfer to an ice bath to slip skins off. (Feel free to leave about 50% of the skins on for a rustic, chunky texture!)
- Chop and Blend: Roughly chop your onions, garlic, jalapeños, and serranos. Combine with tomatoes and pulse or blend to your desired thickness (chunky or smooth).
- Simmer and Reduce: Transfer the mixture into a large pot, bring to a gentle boil, then lower to a simmer for 15–20 minutes to reduce excess water. Drop in your bay leaf and cumin.
- Season and Finish: Remove the bay leaf. Stir in your vinegar or lime juice, and season with salt, pepper, and fresh cilantro to taste. Bring back to a brief boil (180°F) while stirring constantly, then remove from heat.
- Chill and Serve: Let it cool completely before jarring and popping it in the fridge, or follow an approved pressure-canning process to preserve!
Homemade Flour Tortillas
INGREDIENTS:
- All-Purpose Flour: 2 cups
- Salt: ½ tsp
- Baking Powder: ¾ tsp (helps make them soft and puffy)
- Shortening, Lard, or Vegetable Oil: 3 tbsp (fat is the secret to pliability!)
- Warm Water: ¾ cup (warm water helps activate the gluten and makes the dough easy to roll)
INSTRUCTIONS:
- Mix Dry Ingredients: In a large bowl, whisk together the flour, salt, and baking powder.
- Cut in the Fat: Add your shortening, lard, or oil into the flour mixture. Use your fingers or a pastry cutter until the mixture resembles fine crumbs.
- Add Warm Water: Gradually pour in the warm water while stirring with a fork or your hands until a cohesive dough forms.
- Knead the Dough: Turn the dough out onto a lightly floured surface and knead for about 3 to 5 minutes until it becomes smooth and elastic.
- Rest the Dough: Divide the dough into 8 to 10 equal balls. Cover them with a damp towel or plastic wrap and let them rest for at least 15 to 20 minutes. (Don’t skip this step! Resting relaxes the gluten so they roll out flat without shrinking back).
- Roll Out: Heat a skillet or griddle over medium-high heat (no oil needed in the pan). On a lightly floured surface, roll each dough ball out into a thin, round circle.
- Cook: Place a rolled-out tortilla onto the hot, dry skillet. Cook for about 30 to 60 seconds until you see little bubbles form and the bottom has light golden spots. Flip and cook for another 20 to 30 seconds.
- Stack and Keep Warm: Transfer the cooked tortillas to a tortilla warmer or wrap them in a clean kitchen towel to trap the steam and keep them soft while you finish the batch.

